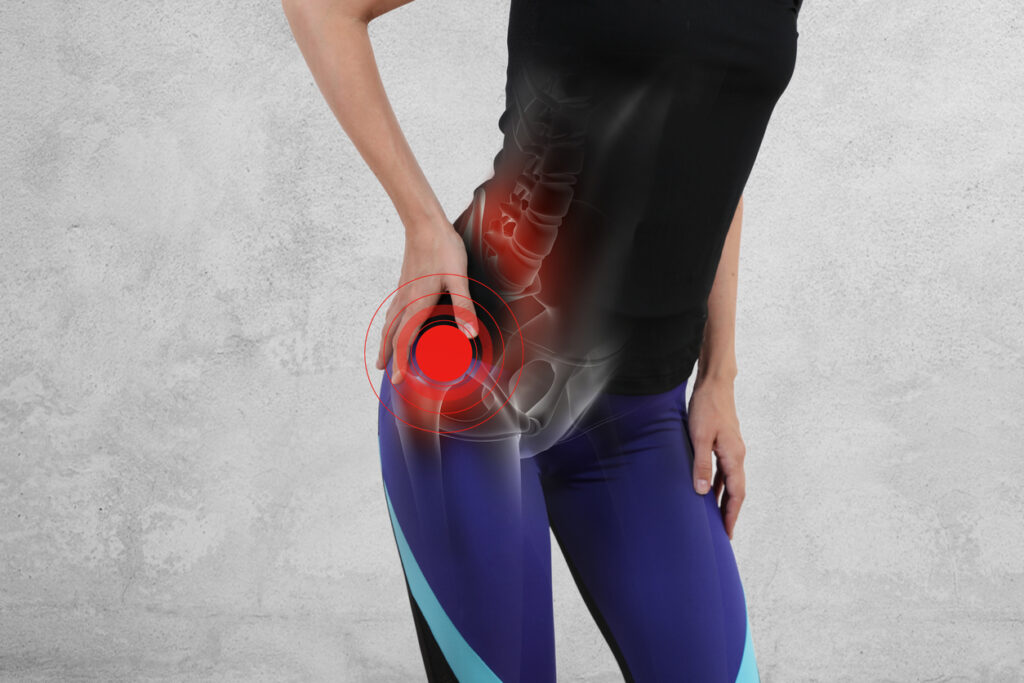
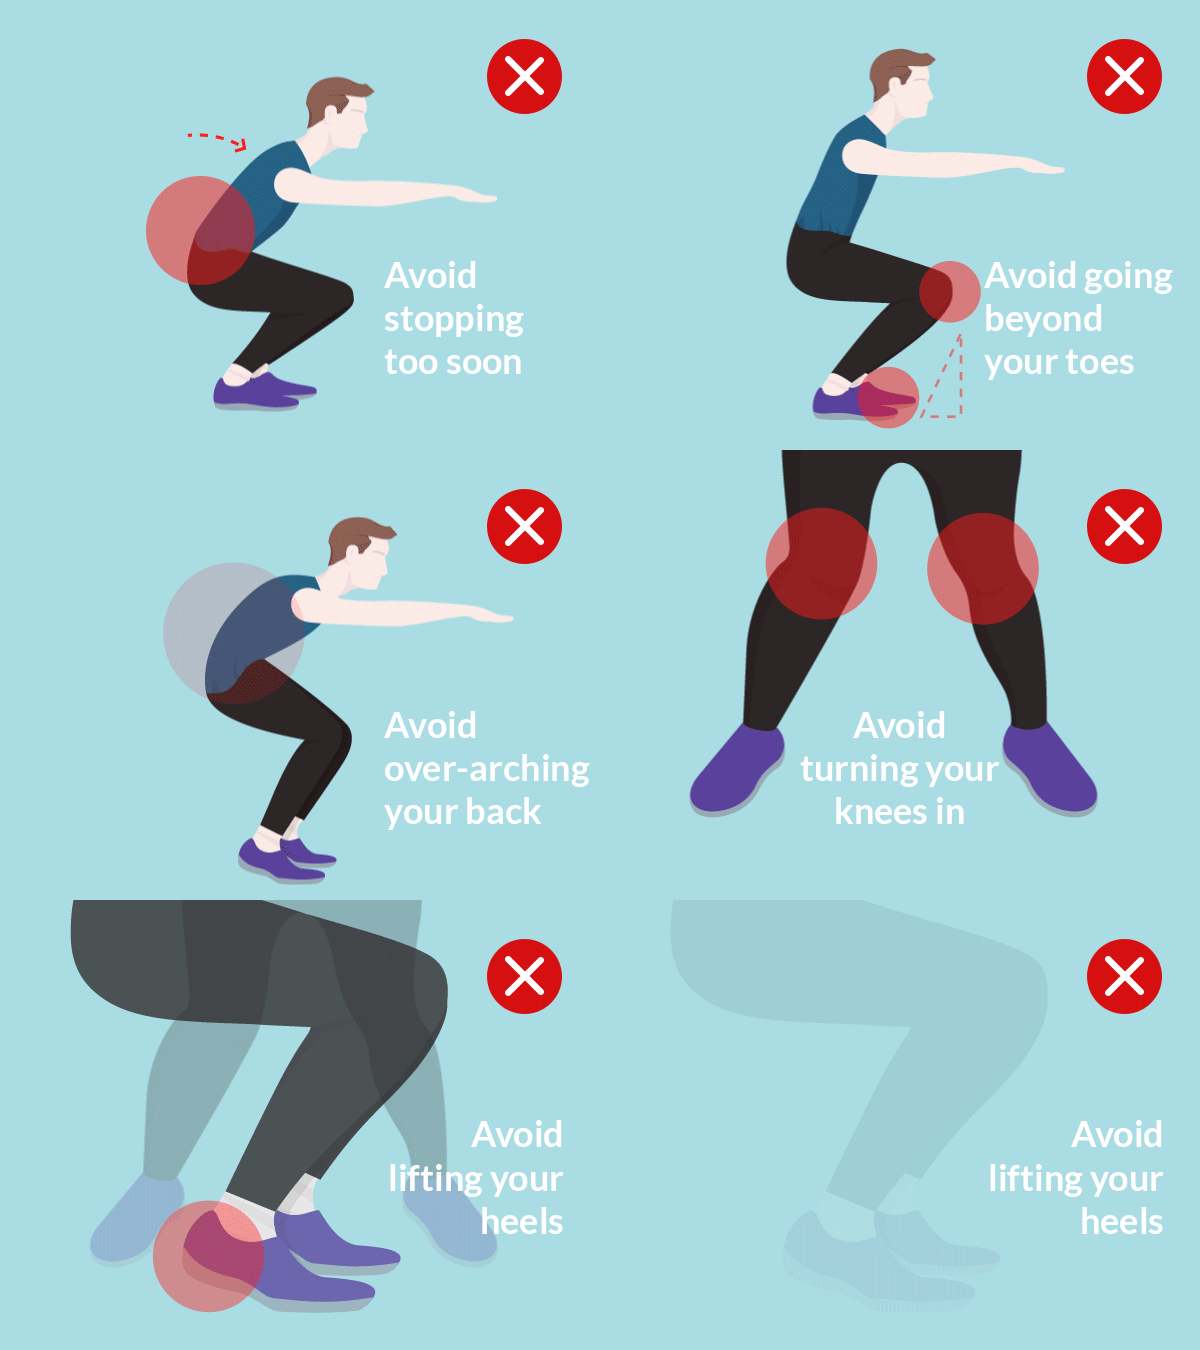
Squatting is one of my favorite exercises! It’s also actually one of the most beneficial when it comes to maximizing your relative strength. But …. what if your squats hurt? If you have pain when you squat you may be wondering: Are squats safe to do?? Should you even squat at all??
A doctor (or an inexperienced coach) might tell you, “If it hurts, don’t do it.”
Unfortunately, there’s a lot more to it than that.

As with everything, if your squats hurt, we need to examine why it hurts.
Are you performing the movement incorrectly? Is your stance too wide (or too narrow) for your anatomy? Do you have short thigh muscles, inflexible ankles or tight hips?
Do you have a strength imbalance (i.e. one leg is stronger than the other) dominating the movement and causing compensation and pain?
All of this information can be acquired from a short, simple assessment … so we’d start there.
Here are some of the reasons you may be hurting from doing squats:
SKILL:
If it’s a question of skill, we need to put the dumbbells away for a while and work on rebuilding and relearning the squat pattern from the bottom up. Then we can execute the squat correctly and safely before adding external weight.
STANCE:
If it’s the stance, we can quickly determine what the ideal and most comfortable stance should be for each individual based on their anatomy and flexibility.

FLEXIBILITY OR MOBILITY:
If it’s a lack of tissue flexibility or joint mobility, we’ll need to spend some time performing corrective exercises to improve that. Just doing more squats is not going to help.
STRENGTH IMBALANCE:
If it’s a strength imbalance, we’d need to focus on any number of awesome and highly effective single-leg strength exercises (split squats, lunges, step-ups) until the weaker side catches up to the stronger side.
TAKEAWAY
After reading that, you can probably understand why simply eliminating an exercise because it hurts might not be the right thing to do.
Sometimes, all we have to do is other “re-balancing” exercises before we can move on to more complex exercises.
It’s not uncommon for us to see a new client in our facility who doesn’t squat comfortably or correctly. When this happens, we work on more remedial exercises to strengthen their hip muscles before we can have them squat safely.
So, if your squats hurt or you have pain when you lunge or even press something overhead — it might not be that you shouldn’t do that movement anymore. You just might need to do some other exercises first, under the guidance of a trained professional, before attempting the exercise in question. But, you may very well be able to do that “painful” exercise at some point in the future– and do it pain free!
NEED HELP FIGURING THIS ALL OUT?
If you’ve got a painful “glitch” somewhere in your movement patterns and it concerns you — consider setting up a 30 minute consultation with me.
It costs you nothing except your time — and you might just get the benefit of being in less pain down the road ;-).
Fill out the form below or contact us here if you’d like to set up a time to talk! We’d love to hear from you!
Committed to your (pain free!) success,
Coach Becky


 Is your body beginning to experience aches and pains on a mild to severe degree? Try yoga for pain relief. The ancient practice of yoga has been attributed to relieving depression and fatigue, weight loss, overall body strengthening and relieving pain. Yoga involves a series of stretching, toning, and meditative practices. Combining specific poses with breathing exercises is an effective way to reduce pain and decrease inflammation within your body.